![]() This manual describes the application “Graphryder 1.0”, which we are no longer using at Edgeryders. Its former domain graphryder.edgeryders.eu now serves the application “Graphryder 2.0”, aka “RyderEx”. For that, please refer to the Graphryder 2.0 Manual for instructions. Graphryder 2.0 is a complete re-write and much better, and all our external users of Graphryder 1.0 are probably interested in making the switch as well
This manual describes the application “Graphryder 1.0”, which we are no longer using at Edgeryders. Its former domain graphryder.edgeryders.eu now serves the application “Graphryder 2.0”, aka “RyderEx”. For that, please refer to the Graphryder 2.0 Manual for instructions. Graphryder 2.0 is a complete re-write and much better, and all our external users of Graphryder 1.0 are probably interested in making the switch as well ![]()
Content
5. Graphryder server administration
1. Usage
All our Graphryder Dashboards can be publicly accessed using URLs of this scheme:
https://graphryder.edgeryders.eu/{corpusname}
Currently we have Dashboards installed for the following corpora:
- project NGI Forward: https://graphryder.edgeryders.eu/ngi
- project OpenCare: https://graphryder.edgeryders.eu/opencare
- project OpenVillage: https://graphryder.edgeryders.eu/openvillage
- project POPREBEL: https://graphryder.edgeryders.eu/poprebel
- project TREASURE - React App
2. Software architecture
Components. Graphryder (“GR”) consists of two separate components: a backend / server component called Graphryder API and a frontend called Graphryder Dashboard. The API includes a Neo4j database (“GR Database”). Here are their roles:
-
GR Dashboard does all its work in the browser on your machine. It’s a JavaScript application loaded as a static site, runs on your machine, and loads data from GR API. It’s built completely in JavaScript, CSS, and HTML. It uses a whole range of libraries, which are all front-loaded when you load the client in your browser. GR Dashboard only talks to GR API, which in turn talks to GR Database.
-
GR API is built in Python and does the heavy lifting to generate data for GR Dashboard. In addition to Python, it has quite a lot of Cypher queries, sent to GR Database using the Python Neo4j interface library. It also contains Tulip libraries, used to generate the graphs. GR API is also responsible for filling the GR Database with data from Discourse in the first place. In fact, anyone can trigger it to re-fill the GR Database contents with the latest data from Discourse by simply calling the
/hardUpdateFromEdgeRydersDiscourseGR API route from their browser. -
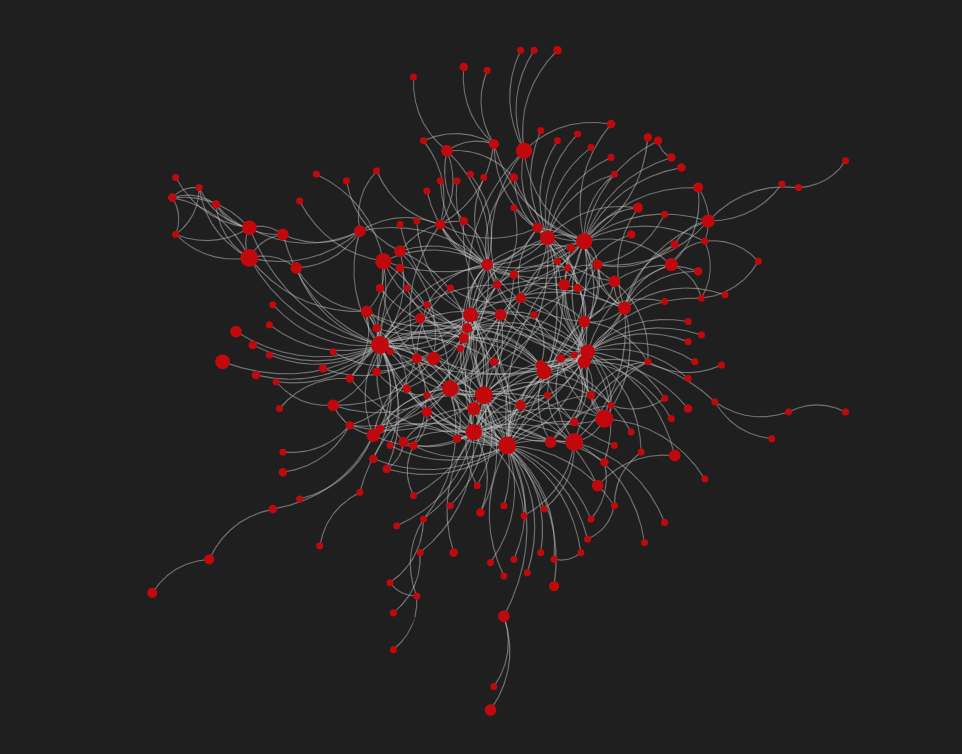
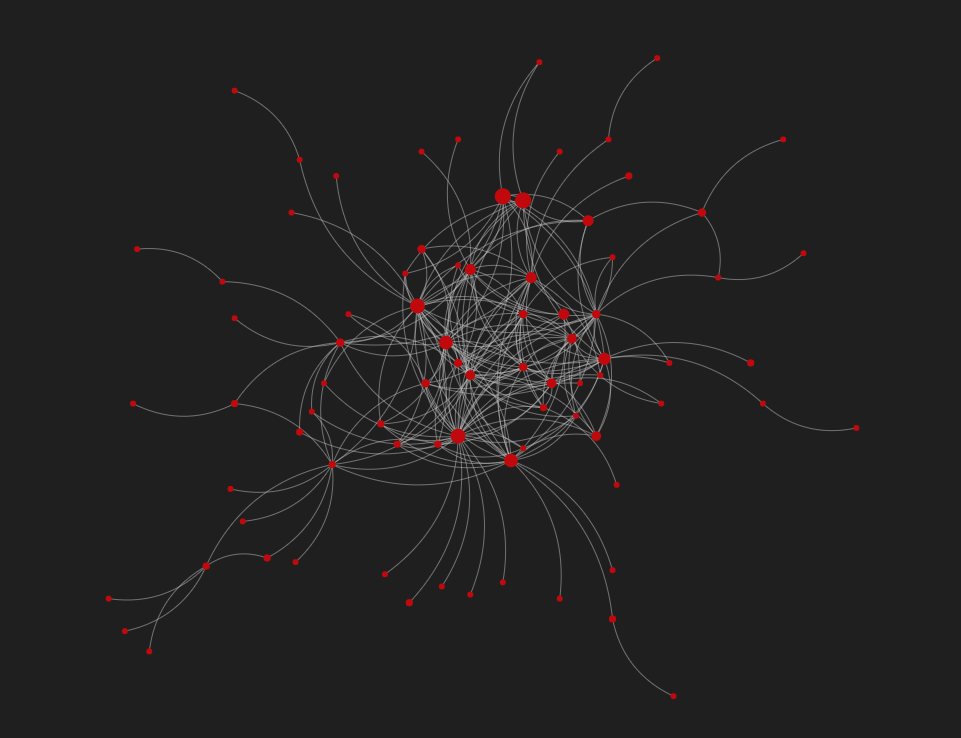
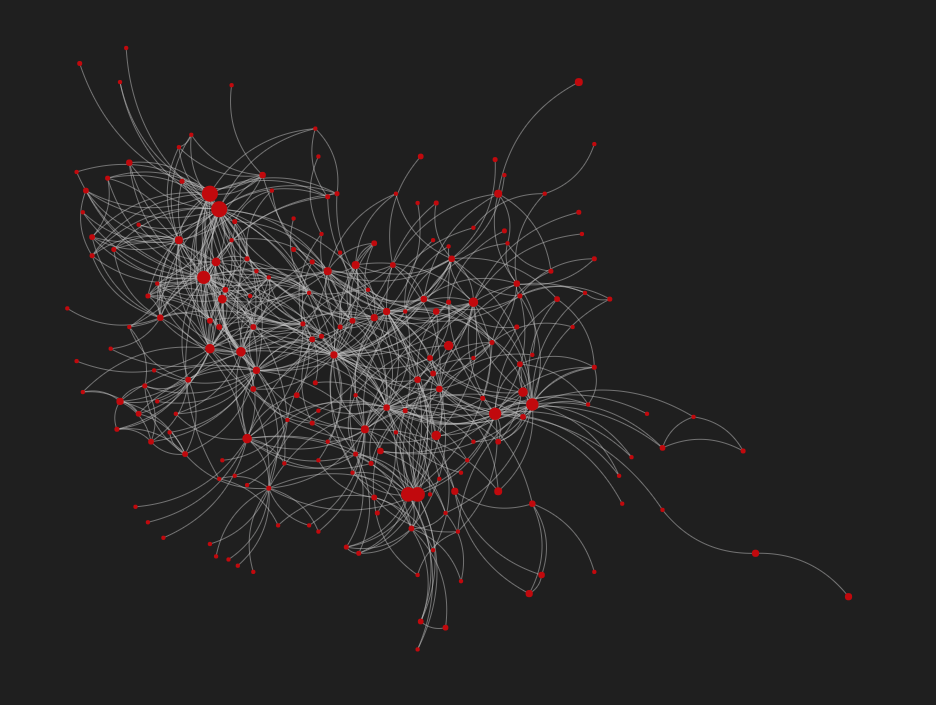
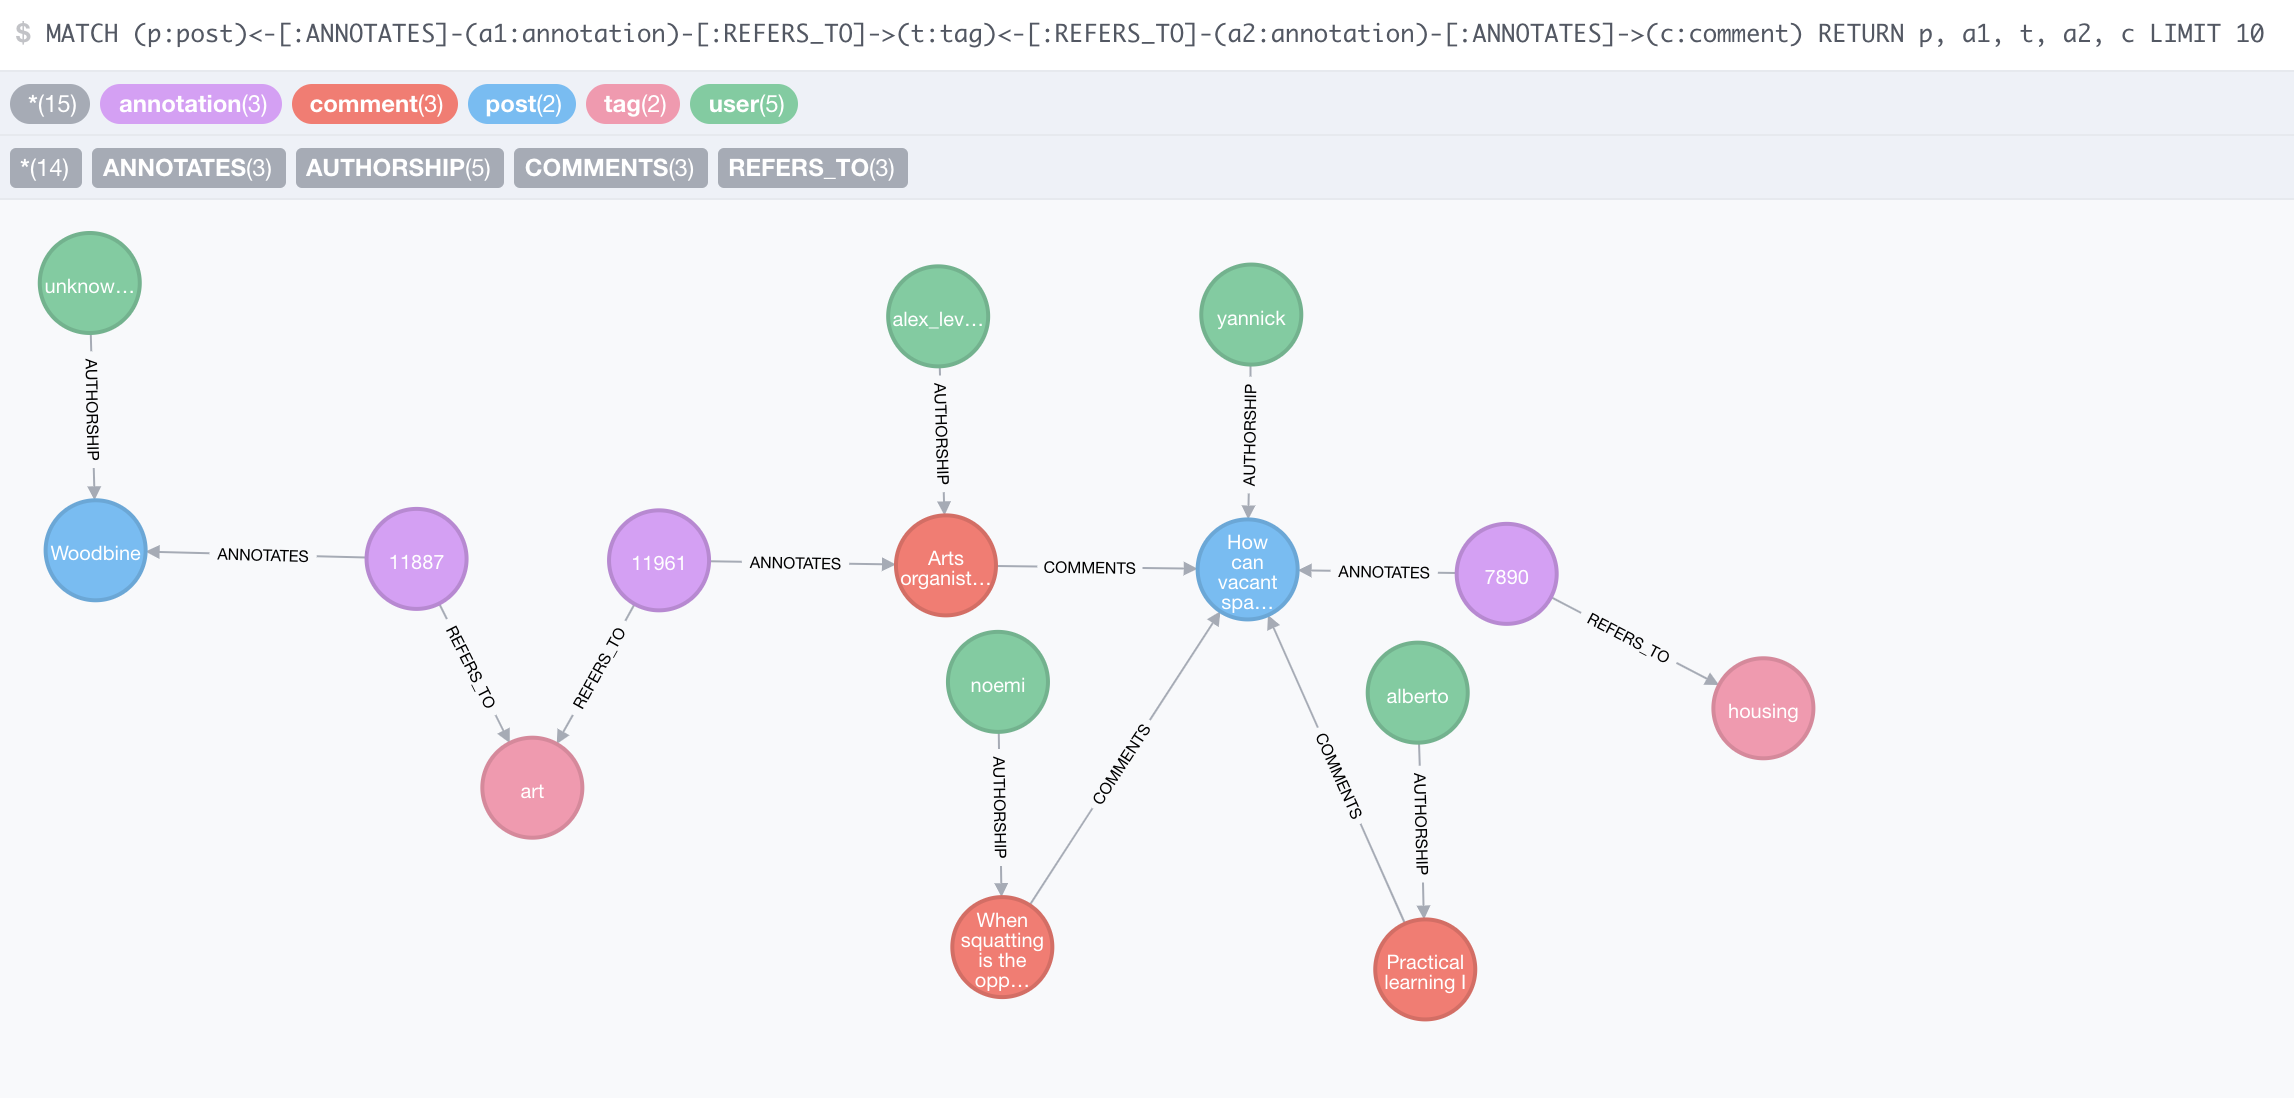
GR Database is just a Neo4j database that caches data obtained from Discourse (namely, from Open Ethnographer, a piece of software we added to Discourse). Here is a query result that demonstrates the data structure. Some of the results have been removed from the graph for clarity.
Data flow. The flow of data inside Graphryder is as follows:
-
For primary data: When GR Dashboard is launched it starts by downloading a lot of data from GR API, including every single post and every user and every tag in the corpus, as well as some other data. GR API generates these JSON files from data it obtains from its GR Database on demand, at the time GR Dashboard is loaded in a browser. So these JSON files are not cached by GR API but freshly built every time, from data that it caches in the GR Database.
-
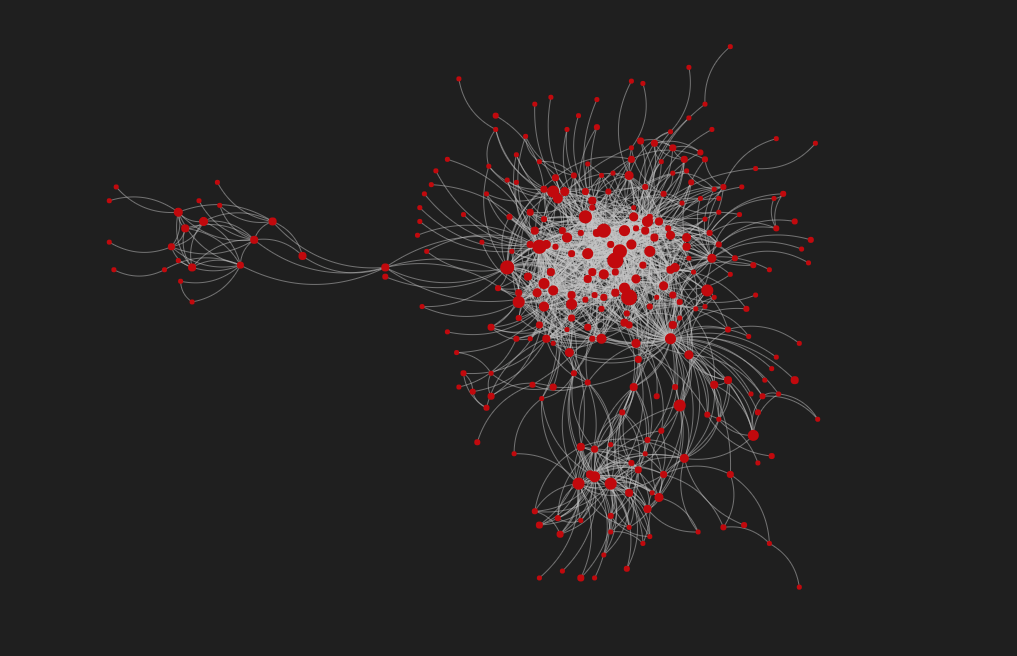
For graph data: GR Dashboard also receives JSON data from GR API that describes Tulip-generated graphs. For an example of how this data looks, see here.In contrast to the posts, users, and tags, the JSON data containing the graphs is not front-loaded into GR Dashboard. Instead, these are loaded on-demand from GR API when the user loads a new graph in GR Dashboard.
GR API keeps Tulip files (
.tlp) for all graphs available pre-built and cached in./data/tlp/(by default; else seetlp_pathinconfig.ini). It then converts them to the required JSON format in the required layout when requested from GR Dashboard (code ref).The Tulip (
.tlp) files cached in GR API can be re-built from inside GR Dashboard by clicking on the top-right gear icon and using the buttons in the settings sidebar. Clicking these buttons has no effect on the GR Database, it only triggers a rebuild of the Tulip graph files using the data in GR Database at the time.When (re-)building these Tulip files, GR API employs algorithms from its included Tulip Python libraries.
3. Installation
These are instructions for setting up Graphryder from scratch for a new ethnographic corpus (the conversation to analyze) and ethnographic codes. Your mileage may vary depending on your server environment.
These instructions apply to Debian / Ubuntu based systems and so far have been tested on Ubuntu 16.04 and 19.04. For other distributions, you may have to adapt some steps. As for hardware requirements: Neo4j, Graphryder API and Graphryder Dashboard run together on a DigitalOcean droplet with 8 GiB of main memory.
Several instances set up using these instructions are available at graphryder.edgeryders.eu as a reference; for the URLs see section “1. Usage”.
3.1. Graphryder API
1. Install Neo4j
-
If you intend to use more than one Graphryder instance on one server, install
ineo, a tool to install and manage multiple Neo4J instances on one server. This is necessary because Neo4J follows a “one instance, one database” architecture. In that case, you need to adapt all following steps as needed for use withineo. We use this approach successfully on the edgeryders.eu server already (see). -
Follow official instructions to install version 3.1.9 of Neo4j.
All newer versions of Neo4j should also work as long as they are supported by
neo4j-driverversion 1.6.3 (source), which we use. We did not test this yet; but sinceneo4j-driveris the interface of Graphryder API to Neo4j, everything should keep working as long as that interface stays atneo4j-driverversion 1.6.3.On a recent Ubuntu / Debian system, the installation commands would be:
wget -O - https://debian.neo4j.org/neotechnology.gpg.key | sudo apt-key add - echo 'deb https://debian.neo4j.org/repo stable/' | sudo tee -a /etc/apt/sources.list.d/neo4j.list sudo apt update sudo apt install neo4j=1:3.1.9 sudo apt-mark hold neo4j -
Change the
neo4juser’s password away from the defaultneo4j(instructions). So there will be no harm if the database is ever available on the web. -
We want to accept connections from a different host, both for the HTTPS transport (used to access the Neo4j database browser for diagnostic purposes) and for the BOLT transport (used by Graphryder Dashboard, allowing you to install it on a different host; also used to access the Neo4j database with a remote
cypher-shellfor diagnostic purposes). As we changed the Neo4j password, this is no greater security risk than running phpMyAdmin for example. To enable this, edit your/etc/neo4j/neo4j.confas follows:For Neo4j 3.1.9
Enable the following line:
dbms.connectors.default_listen_address=0.0.0.0 -
The Neo4j database browser will not work with its default self-signed HTTPS certificates and the above configuration, which requires HTTPS for the database browser. So we have to provide it with certificates for the domain used to access it (instructions). In our case that’s as follows:
cp /etc/letsencrypt/live/edgeryders.eu/fullchain.pem /var/lib/neo4j/certificates/neo4j.cert cp /etc/letsencrypt/live/edgeryders.eu/privkey.pem /var/lib/neo4j/certificates/neo4j.key -
Restart Neo4j to make the configuration and certificate changes from above effective:
sudo service neo4j restart -
On a Debian based system, Neo4j will already be running, and will start at system start. Check with
service neo4j status. If something is not right, fix it following the official instructions. -
Try a connection to the Neo4j database – it should work now:
-
Using the database browser. The database browser is a good way to look into Neo4j directly. Access it at your domain and port 7473. In our case, that is:
https://edgeryders.eu:7473/browser/If you are not greeted with a password prompt, execute
:server connectto bring it up. -
Using
cypher-shell. The following should work on any host that hascypher-shellinstalled. Use your own Neo4j’s IP address, username and password of course:cypher-shell -a 46.163.78.192 -u neo4j -p "your_password"
Now try executing a query. The database is still empty so it won’t show anything interesting, but at least that the query executed. For example, this query to count the number of nodes in the database:
MATCH (n) RETURN count(*) -
2. Install Neo4j plugins
You need to install two GraphAware plugins for Neo4j:
cd /var/lib/neo4j/plugins/
wget http://products.graphaware.com/download/timetree/graphaware-timetree-3.0.1.38.24.jar
wget http://products.graphaware.com/download/framework-server-community/graphaware-server-community-all-3.0.1.38.jar
systemctl restart neo4j
The plugin versions installed above are for Neo4j 3.0.1. Newer versions exist for newer versions of Neo4j.
3. Install the Graphryder API software
-
Obtain the Graphryder API software:
git clone https://github.com/edgeryders/graphryder-api.git -
Install Python 3.5 if you don’t have it already (check with
which python3.5). One reason we need Python 3.5 is because the PIP package tulip-python 4.10.0 is only available up to Python 3.6 … we really have to update everything to recent versions .
.-
For Ubuntu 16.04: Python 3.5 is already available after installing
python3from the default Ubuntu repositories. -
For Ubuntu 19.04: (This works even though the PPA only provides Python 3.5 for Ubuntu ≤18.04.)
sudo add-apt-repository "deb http://ppa.launchpad.net/deadsnakes/ppa/ubuntu disco main"
sudo apt update
sudo apt install python3.5
-
-
Set up a Python virtual environment for the Graphryder installation using Python 3.5. (Virtual environments are the best way to provide a specific Python version to a project.)
-
For Ubuntu 16.04, you would do:
sudo apt install python3-venv cd /path/to/installation/directory/ python3.5 -m venv venv . ./venv/bin/activate -
For Ubuntu 19.04, if you followed the above instructions of using the
deadsnakesPPA:sudo apt install python3.5-venv cd /path/to/installation/directory/ python3.5 -m venv venv . ./venv/bin/activate
-
-
Complete the setup by following instructions in the repository’s README.md. In short, it’s this:
sudo apt install python3.5-dev
pip install wheel # Only needed on Ubuntu 16.04.
pip install -r requirements.txt
cp exportsigma.py ./venv/lib/python3.5/site-packages/tulip/native/plugins/
cp config.example.ini config.ini
4. Configure Graphryder API
Edit config.ini as described in the following example:
[neo4j]
; Neo4j server hostname (without port). Use "localhost" if running locally.
url = localhost
; HTTP port to access Neo4J. Must be specified – it's the legacy interface, but still needed.
http_port = 7480
; HTTPS port to access Neo4J. Currently not used.
https_port = 7481
; BOLT port to access Neo4J. This is the new binary interface.
; Must be specified, as otherwise the default is "7678" which might belong to a different Neo4J instance.
bolt_port = 7482
; Username to access Neo4j. Default is neo4j.
user = neo4j
; Password to access Neo4j. Default is neo4j, but don't use that.
passsword = your_password_here

[api]
; Hostname or IP address to serve the Graphryder API.
; Use localhost for testing during local development.
host = edgeryders.eu
port = 5000
debug = True
max_tlp_files = 50

[importer]
json_users_path = data/users.json
json_posts_path = data/posts.json
json_comments_path = data/comments.json

[importer_discourse]
; All *_rel_path keys below expect values without .json.
; Even if that is present in the API route!
abs_path = https://edgeryders.eu/
users_rel_path = admin/consent
user_rel_path = u/
tag_rel_path = tags/
; Discourse tag that identifies the ethnographic corpus to analyze.
; Examples: ethno-opencare, ethno-poprebel, …
tag_focus = ethno-…
topic_rel_path = t/
posts_rel_path = posts/
codes_rel_path = annotator/codes
annotations_rel_path = annotator/annotations
; Admin API key of a user with access to the Open Ethnographer Discourse API.
admin_api_key = 95a1f8……d19fce
; Discourse username to use with the master API key. No longer needed, as we use personal API keys instead now.
admin_api_username =
; To only include content for which authors have  gone through a "consent funnel" form on the Discourse platform. Use "0" to include all content regardless of consent status.
ensure_consent = 1

[exporter]
tlp_path = data/tlp/
5. Load data into Graphryder API
-
Start the Graphryder API server by running
python ./app.pyin the root of the project directory. -
Make sure that you can access the remote API by going to
http://example.com:5000/, using the hostname you supplied in config section[api]. This should just show a page with the title ‘Not Found’. If not, you may need to configure your firewall. -
Build the Neo4j database by running the hard update script. You trigger it at route
http://example.com:5000/hardUpdateFromEdgeRydersDiscourse. -
Access
http://example.com:5000/statusto see statistics about the data currently contained inside the Neo4j database. You can also use this while the previous step is underway, to check the progress. -
Have a look at the output of the tab where you called
/hardUpdateFromEdgeRydersDiscoursewhen it stops loading. It should now show:{"comments": [], "tags": [], "users": [], "posts": []}If any of these arrays contain values it means that these items had to be left out / ignored by the Graphryder software. You might want to investigate the issue with that. The output of the
python ./app.pyserver process (in the console or innohup.out) will help. Also, there is a debug mode of Graphryder that enables verbose console output. It can be enabled inconfig.ini.
6. Prepare Graphryder API for production use
Set up a firewall to block direct access to the Neo4j database through the web interface, or disable access to it in the Neo4j config file. Finally, start the Graphryder API service in the background, for example by running:
cd /path/to/installation/directory/
. ./venv/bin/activate
nohup python app.py &
3.2. Graphryder Dashboard
-
Clone the repository:
git clone https://github.com/edgeryders/graphryder-dashboard.git -
Install the required tools for package management (
npm,bower) and for JS development task automation (grunt):sudo apt install nodejs sudo npm install -g bower grunt-cli -
Install the package dependencies:
cd /path/to/repository/ npm install bower install -
Install Linkurious.js. This is a legacy dependency that we urgently have to get rid of (see issue #23). So far, it has to be installed as follows, as it does not provide a Bower or NPM package:
-
Clone Linkurious.js form this fork to a sub-directory of your choice (here
./linkurious/):git clone https://github.com/norbertFeron/linkurious.js linkurious -
Link and build the Linkurious.js library:
cd ./linkurious/ npm install npm run build -
Link Linkurious into the Graphryder Dashboard project. This needs a two-step process:
cd /path/to/linkurious-repo/
bower link
cd /path/to/graphryder-repo/
bower link linkurious
-
-
Create a configuration file
./app/config.jswith the following content, while adapting the URL according to your setup. Note that if Graphryder Dashboard is served via HTTPS, then this URL also must be a HTTPS URL, or else the browser will complain about mixed content and refuse to contact Graphryder API.(function (window) { window.__config = window.__config || {}; // URL to the Graphryder API. window.__config.apiUrl = 'https://example.com:5000/'; }(this)); -
Build the JavaScript web application:
grunt build -
Set up your webserver (Apache2, Nginx or whatever) to serve the JavaScript web application as a static website from the
./dist/directory as Document Root directory. -
Visit the Graphryder Dashboard URL – you should see the dashboard with statistics and the growth-over-time graphs for the discussion. Other graphs will not yet be there, because they have to be generated at first. For that, click the top-right gear icon and from the sidebar that appears select all four graphs and click “Regenerate Graphs”. They are not updated automatically, so you have to use that function again after each new harvest from Discourse (means, call to
/hardUpdateFromEdgeRydersDiscourseof the associated Graphryder API).
To provide Graphryder for multiple datasets, so far there has to be one instance of Graphryder Dashboard and Graphryder API for each. For Graphryder Dashboard, you can just copy over the files to the new website’s directory and are good to go:
cp -aT /path/to/graphryder-1-dir /path/to/graphryder-2-dir
(Using -T to also copy hidden files and directories like .git– see.)
3.3. Running the services
On the Edgeryders server, Neo4J and Graphryder API are not started via systemd or Monit at boot time. So after each reboot, the following has to be done to start up these services. (Since we’ll eventually move from Neo4J to our new Redisgraph based database, both Neo4J and Graphryder API will no longer be needed. So it’s not worth it to make these services reboot safe. Just follow the instructions here …)
-
Log in.
ssh root@server.edgeryers.eu -
Start the Neo4J servers.
- For NGI Forward:
sudo -i -u neo4j -- ineo start ngi_forward - For POPREBEL:
sudo -i -u neo4j -- ineo start poprebel
- For NGI Forward:
-
Kill old server processes (if any). Kill any app.py process before starting a new one. To see if app.py is running, execute
ps ax | grep app.py. For each Graphryder API instance, you’d see two lines like these:17855 pts/0 S 0:00 python app.py 17869 pts/0 Sl 0:01 /var/www/clients/client7/web38/web/venv/bin/python app.py -
Change to the right directory.
- For NGI Forward:
cd /var/www/graphryder1api.edgeryders.eu/web - For POPREBEL:
cd /var/www/graphryder3api.edgeryders.eu/web
- For NGI Forward:
-
Enter the Python venv.
. ./venv/bin/activate -
Run the Graphryder API server.
- To run it in the background as a “permanent” server process (the usual case):
nohup python app.py & - To run it with output to the terminal (for testing purposes):
python ./app.py
- To run it in the background as a “permanent” server process (the usual case):
-
Test if the Graphryder instances are up and running:
https://graphryder1.edgeryders.eu/
https://graphryder3.edgeryders.eu/
4. Troubleshooting
-
One type of graphs is not showing. Happened for example with “Detangler View”. Try restarting the Graphryder server and then generating the graphs all again via “gear icon → Regenerate Graphs”.
-
Graphs went all missing. This might be because you re-started the Graphryder API server application without re-generating the graphs afterwards. Probably they are saved to process-specific temporary files, so they will not be accessible after restarting the server software. To generate a new set, use “gear icon → Regenerate Graphs” in Graphryder.
5. Graphryder server administration
We run Graphryder and Neo4j on a virtual server on Digital Ocean. This server is managed by @hugi and provides https://graphryder.edgeryders.eu. Graphryder instances can be reached like this:
If the project is ngi the URLs will be:
- Dashboard: https://graphryder.edgeryders.eu/ngi
- API: https://graphryder.edgeryders.eu/ngi/api
- Database: https://graphryder.edgeryders.eu/ngi/db
A list of useful commands is available at /root/commands.txt, but commands are also shown below.
5.1. Running neo4j with ineo
Neo4j databases are created and run through ineo, a piece of software that allows multiple instances of Neo4j to run on the same machine. To see the currently running databases, run:
- to see the run status:
ineo status - to see details:
ineo instances
If you run different versions of Neo4j, you may need to set the Java version through setting the JAVA_HOME global path. For example, on our instance we switch between
export JAVA_HOME=$(readlink -f /usr/bin/java | sed "s:jre/bin/java::") for openjdk version “11.0.5”.
and
export JAVA_HOME=$(readlink -f /usr/bin/java | sed "s:bin/java::") for openjdk version “11.0.5”.
To create a new neo4j database, use:
ineo create -v 3.1.9 -p 1234 -b 5678 yourproject
Where -p sets the HTTP port and -b sets the BOLT port. Make sure to not map to ports that are already in use by other instances.
Before starting the new Neo4j database you must set an initial password for the neo4j user that then needs to be passed to the new Graphryder API instance. To set this, run the following command from /root:
.ineo/instances/yourproject/bin/neo4j-admin set-initial-password yourpassword
After this, you are ready to start your neo4j database by running
ineo start yourproject
5.2. Running the APIs
To start the APIs, cd to /root/yourproject-graphryder-api and run the following command for each project, replacing “ngi”:
nohup bash -c 'exec -a ngi-api sudo python3 /root/ngi-graphryder-api/app.py > output.log &'
5.3. Nginx webserver
This server runs Nginx to open the API to the outside and to host the dashboard Javascript files. To see and update the configuration, see /etc/nginx/sites-available/graphryder.edgeryders.eu.
To restart nginx with new configurations, run:
sudo systemctl reload nginx
5.4. Graphryder Dashboards
Graphryder dashboards are served as static web apps. All dashboards are stored at /var/www/. Follow the dashboard installation instructions to add new dashboards.