This topic is a part of the webkit documentation. For complete documentation on how the Webkit works please refer to the webkit manual. This guide is specifically to help project managers set up forms on tell.edgeryders.eu and webkit sites.
Content
1. Introduction
2. Creating the form
4. Step by step guide to use forms for events
- 4.1. What are Edgeryders Forms used for with events?
- 4.2. The Output Thread
- 4.3. How to set up the form
- 4.4. Obtaining e-mail addresses of respondents
1. Introduction
This software is for creating forms that “talk to” the Edgeryders platform and significantly simplifies the onboarding for new people.
It allows you to create any form that also can publish answers to a specific question onto a designated place on the platform. The answer is published under the person’s Edgeryders user name on the platform if they already have an Edgeryders account. If they do not already have an account a new one is created for them.
This is good because it enables us to do things like connect event registration with creating your first post. Or follow up events by having people comment a specific piece of text e.g notes from one session in order to get something else e.g access to the whole event report.
This software is a front end application written in Vue.js that has the following features:
-
Loads form templates remotely from the Discourse platform
-
Include forms on other Webkit sites
-
Publish the response to the Edgeryders platform
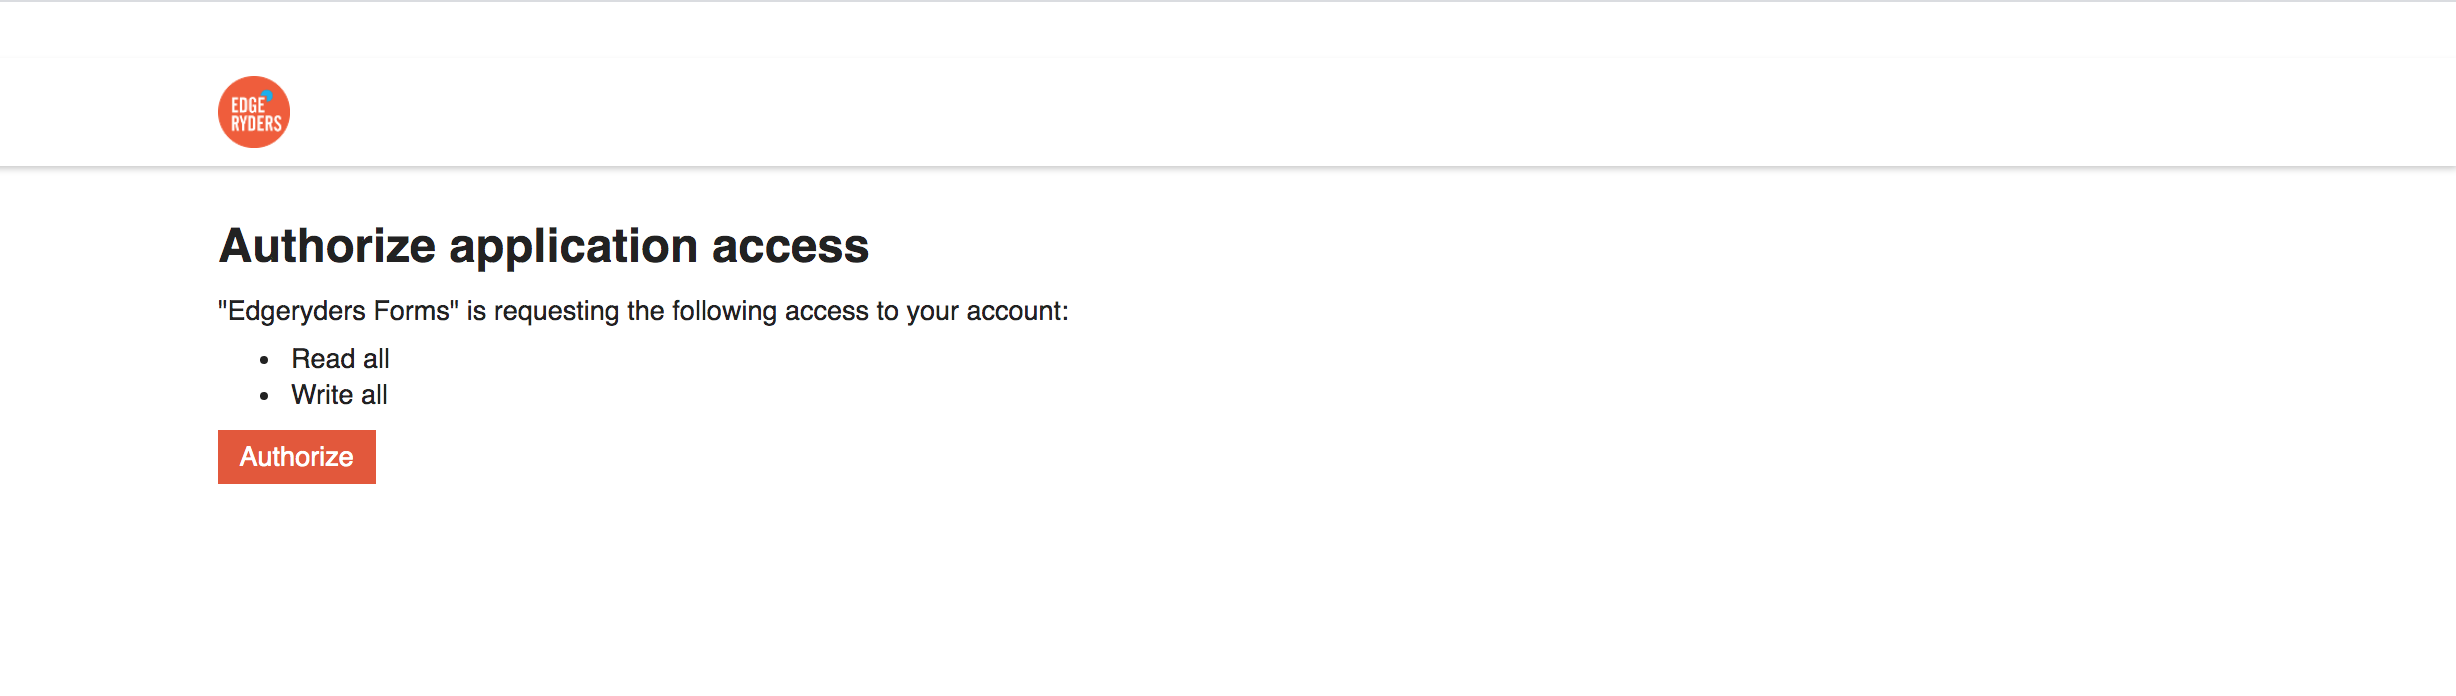
- By authenticating the user through an existing account
- By creating a new account
-
Publish the response to Airtable
This manual will provide an overview on how to create a form that will work with our forms directory tell.edgeryders.eu
2. Creating the form
A form template is written in JSON. Before we start it is recommended to take a careful look at the default example form, as it includes most of the fields and configuration options available.
Click here for a step by step guide “How to set up Edgeryders Forms for Dummies”.
2.1. Configuration
The first part of the JSON determines how the form is configured: specifically the form title, introduction text, confirmation text, account creation text, and finally where to publish the form response.
Below is an example configuration object:
"config": {
"title": "Title",
"text": "Text",
"logos": [
{
"image": "edgeryders",
"url": "https://edgeryders.eu"
},
{
"image": "https://live.edgeryders.eu/img/climate_kic.62d82854.png",
"url": "http://www.climate-kic.org"
}
],
"confirmation": {
"title": "Title",
"text": "Text"
},
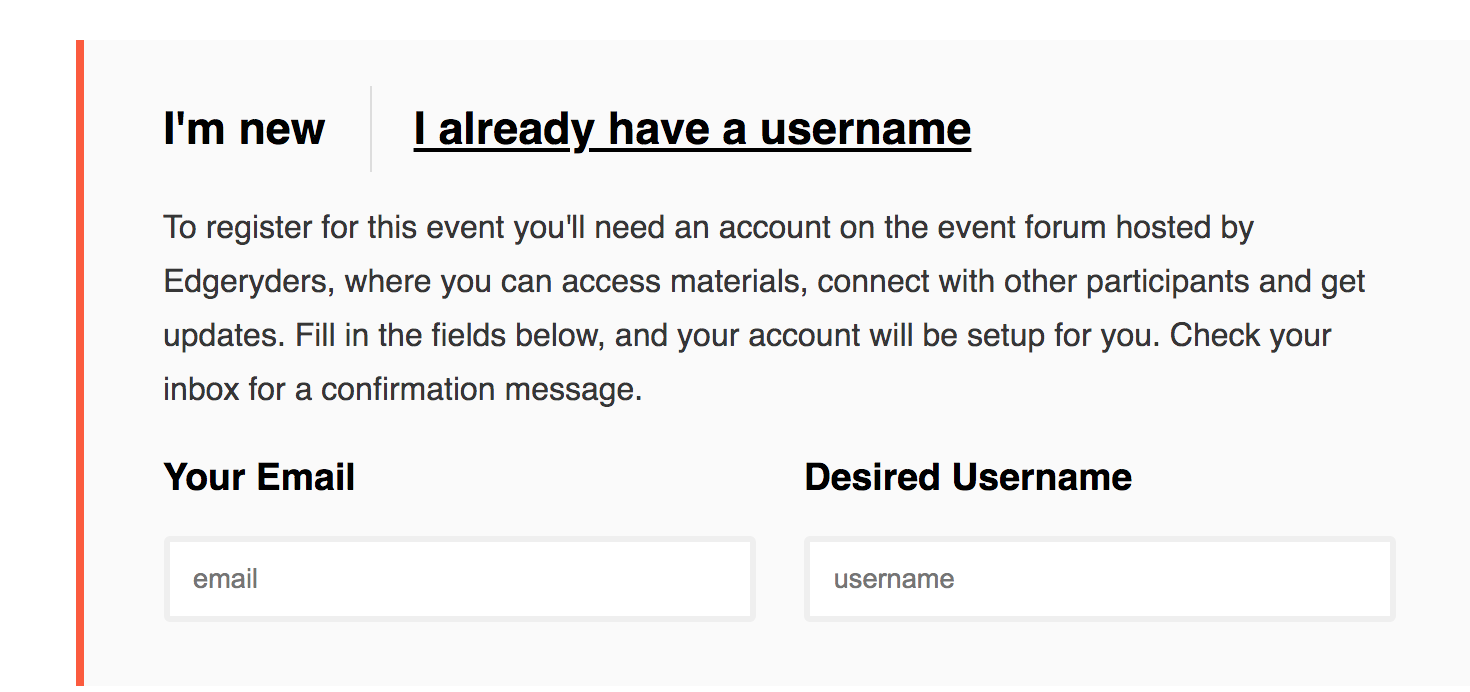
"account": {
"title": "I'm new here",
"login": "Login button text",
"text": "Text to explain account creation step."
},
"partners": {
"title": "In partnership with",
"logos": [
{
"image": "url_to_image",
"url": "url_to_site"
}
]
},
"publish": {
"topic": 14202
}
}
Below is an overview of all the parameters available in the configuration block:
| Parameter | Value | Description | ||
|---|---|---|---|---|
| title | string | The title of the form | ||
| text | string or integer | The introduction text of the form. This can either be a string of text or the content of another topic on the platform. If you want to display a topic, put the topic_id of the article you want to display. For example: 14281 will display the contents of that topic. |
||
| confirmation.title | string | The title of the confirmation section (appears on successful submission of the form) | ||
| confirmation.text | string | The text of the confirmation section (appears on successful submission of the form) | ||
| account.title | string | The title of the account creation section (appears above the form fields) | ||
| account.text | string | The text of the account creation section (appears above the form fields) | ||
| publish.topic | integer | The topic_id of the topic to post the response to. This will publish it as a post to an existing topic. |
||
| publish.category | integer | The category_id of the category to publish the response to. This will publish it as a new topic. Overrides publish.topic if specified. |
||
| publish.airtable | integer | The table_id of the airtable database to post the response to, see Posting to Airtable for more details on how this is configured. |
These are all the configuration options for the form.
2.2. Fields
The second part of the JSON template determines the fields and questions to include in the form. Each field determines an input type in the form. Currently the form supports the following input types:
Below is an overview of all the parameters available in each field object:
| Parameter | Value | Description | ||
|---|---|---|---|---|
| type | string | The type of field, accepted values: "text", "textarea", "radio", "select", "checkbox", "submit" |
||
| title | string | The title of the question |
||
| text | string | The text of the question, appears below the title or in the case of the checkbox, as the label of the checkbox |
||
| placeholder | string | The placeholder text inside the input field |
||
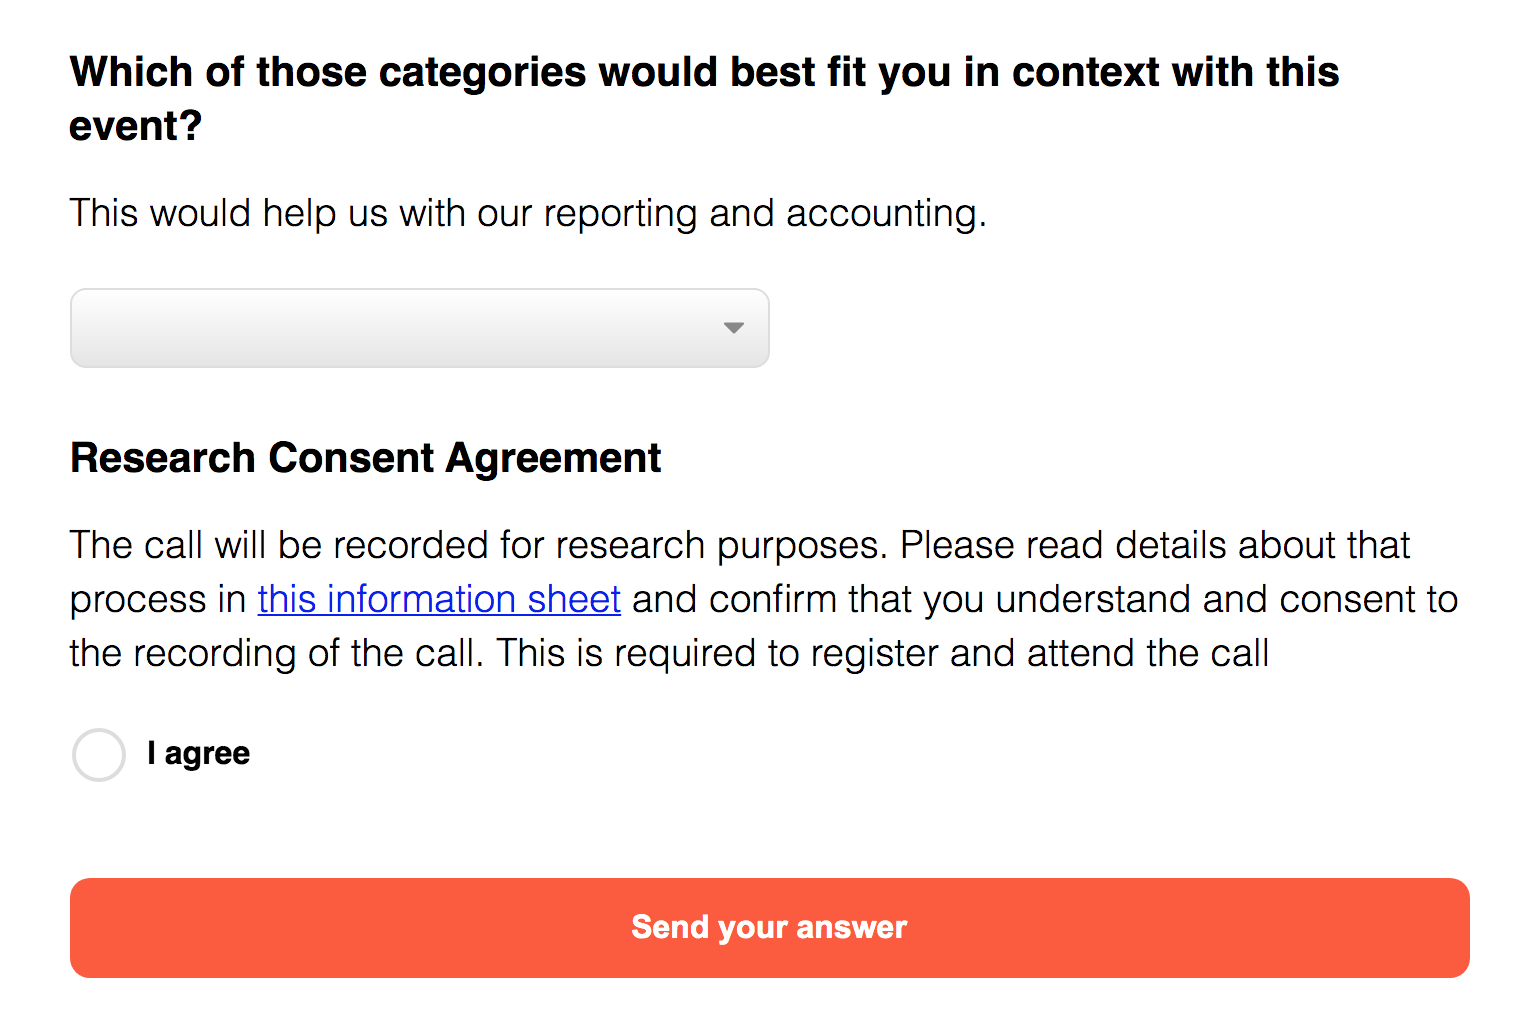
| options | array | Required for select and radio input types: the list of options to choose from | ||
| required | boolean | Set to true if this is a required field (the user must complete it in order to send the form) |
A typical field object looks like this:
{
  "type": "select",
  "title": "Fourth Question",
  "text": "Optional text for fourth question",
  "options": ["option 1", "option 2", "option 3", "option 4"]
}
The submit field is an optional field for changing the text in the submit button:
{
  "type": "submit",
  "text": "My custom button"
}
3. Publishing the form
Once you have completed filing in the configuration and fields, you can publish the topic. Once published, note the topic_id of the configuration topic - this will also be the ID of the form. You can now see the form published by going to tell.edgeryders.eu/topic_id.
For example, to see the example form with a topic_id of 14202, go to tell.edgeryders.eu/14202.
You can now share the form with others to complete.
3.1. Using with the webkit
Forms can also be displayed inside Webkit sites. There are two options for doing this. The first is to embed the form inside a <Content> section. To do this, use the <form> tag with the data attribute set to the topic_id of the form configuration. For example, to embed form 14202:
<form data="14202" />
If you do not want the form to be visible on the page itself (it can take space and may not fit with the rest of the content), you can create a modal window that will appear on the page when a link is clicked.
The link must use the following markdown syntax:
[my link text](form:14481)
In this example 14481 is the form id. Use the appropriate form ID to embed a modal containing that form.
4. Step by Step guide for using forms for events
4.1. What are Edgeryders Forms used for with events?
Edgeryders Forms provide an easy access to join the platform and a specific conversation both for new and sporadically present community members who still have problems navigating the platform.
- The idea is that the link to the “form” is the only instruction needed to get them onboarded to the event, conversation and platform.
- Therefore an event form needs to include a description of the event that would serve as an introduction to the topic by itself and states that it is an event organised by Edgeryder + x collaborators.
- Filling out the form does two things:
- creating a new or logging into an existing account
- Posting a comment in a thread defined in the form template
- The goal of the form is not to generate a list of participants for the event. Registered event participants are everyone who has commented in the thread the form links to for the output posts. The link for the call will be sent via pm to everyone who has commented in that thread, which automatically includes all the ones who filled in the form as well as those who already were on the platform.
- Therefore it is important to make sure to link the participant information sheet from the beginning in the post header that is linked to the outputs of the form (question here @nadia, should we link that output directly to the event page on the platform (like this one for Messina) or create a new thread? A new thread could generate confusion, linking directly back to the event page would prob best?)
4.2. The Output Thread
The form generates comments for a thread of your choosing. Make sure this thread includes:
-
A link to the participant information sheet from the consent funnel edited to fit the event in question.
-
The lines:
- “All who comment on this post will receive the link for the event call.”
- “Note that by attending that call you will consent to the recording and transcribing of the call for research purposes as described in the participant information sheet.”
- “Do not share the link to the call directly but rather share this link if you want to invite someone (put the link to the form).”
4.3. How to set up the form
-
Go to the example form / template, enter edit mode and copy all of the text.
-
Create a “New Topic” in the Workspace and Webcontent-Sandbox category
-
Paste the copied text.
-
Now you can check the preview at https://tell.edgeryders.eu/ new topic number
-
Redirect the output of the form:Change the “topic” number in the configuration (for example “topic”: 14202) to the number on the end of the URL of the Output Thread you created.
-
Edit, copy, delete or adjust the texts in the different fields as you need and check the results in the preview. Remember to include an event description that could stand on its own on the top and mention the organisers (edgeryder + collaborators)
If you want to include the full text of an existing article or event post in the upper text area of the form, you can just enter the number of the topic and all of it will be displayed formated. see example here -
Once you are satisfied with your form, you can edit the WebKit page (like this one Messina District Webinar - Webkit [XML]) to include the form. > Enter edit mode in the WebKit post of your event and add/edit towards the end of the post.
4.4. Obtaining e-mail addresses of respondents
You can obtain a list of the usernames and e-mail addresses of people who filled in the form, for example to send them event tickets or other communication you promised. Instructions:
-
Make sure you are a Discourse moderator or admin, or otherwise ask a moderator or admin to do this process for you. (We cannot give access to this tool to others for privacy regulation reasons, because it enables access to the e-mail addresses of all users on the platform.)
-
Visit the data explorer query “Users: topic contributors, with e-mail”.
-
Into the text field “topic_id”, enter the topic ID of the form’s output topic. This is the number you see in the browser’s address bar when visiting the output topic.
-
Click ▸ Run.
-
Transfer the results to your e-mail software in any of the following ways:
-
If you want to use bulk e-mailing software like Mailchimp, it is best to click CSV, save the CSV file and upload it in that bulk e-mailing software as a new mailing list.
-
If you want to write an e-mail with Thunderbird (and possibly other e-mail clients, perhaps including webmail clients), the simplest option is to select the table cells with relevant addresses with Ctrl + drag (for one range) or Ctrl + click (to add or remove individual cells), then to copy this to the clipboard and insert it into the “Bcc:” address field of your e-mailing software. If all e-mail addresses are now separated with a comma (or comma and space), it worked. This looks good, for example:
alice@example.com,bob@example.com,charlie@example.com.
-
These instructions rely on a custom query for the Discourse Data Explorer plugin. If you need similar queries to extract data from Discourse, you can have similar Data Explorer queries created for you. See our Discourse Admin Manual in section “6.3. How to create a Data Explorer query?”.